For intermittent air-con problems, u may want to check this plug. In my case, one of the pins in the plugs was loose. What I did was to rewire to bypass the plug.
31 March 2011
28 March 2011
EG6 Air-con mod part 3
Just a close-up view on the air-con piping.
 |
| Before |
 |
| After |
It may not be obvious, but one of the piping going from the compressor to the condenser is not visible anymore ;p. Giving it a slightly cleaner look.
What I did was to use the condenser piping from DC2 system for the modification. The piping goes down instead of up, which then hides the piping from view. Alternatively, u may try to get the installer to bent it downwards to have the same effect.
27 March 2011
EG6 Air-con mod part 2
After sorting out the wiring for the air-con system previously, I discovered my air-con condenser was punctured which caused it to be leaking. It presented a good chance to swap out to a bigger condenser and rework on the installation.
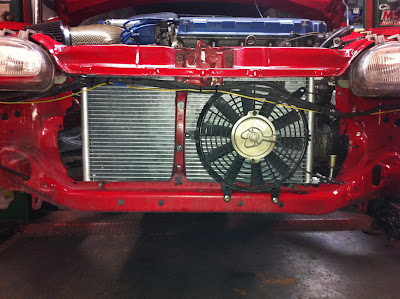
The new condenser is 23"x13" and 1/2" in thickness. Comparing to the old condenser on the left :). Be mindful of the size of the fittings for the hose when choosing your condenser. The cost of the condenser and fittings is about SGD$80 and is easily available.
Its properly secured to the chasis using nuts and bolts instead of cable-ties. The single 8" will be sufficient and there is enough space for a additional one, if the needs arise.
I managed to wire the radiator fan to operate when the compressor starts working for better cooling efficiency.
No more sweat during hot afternoon traffic jams!!
24 March 2011
EG Steering Fluid Tank
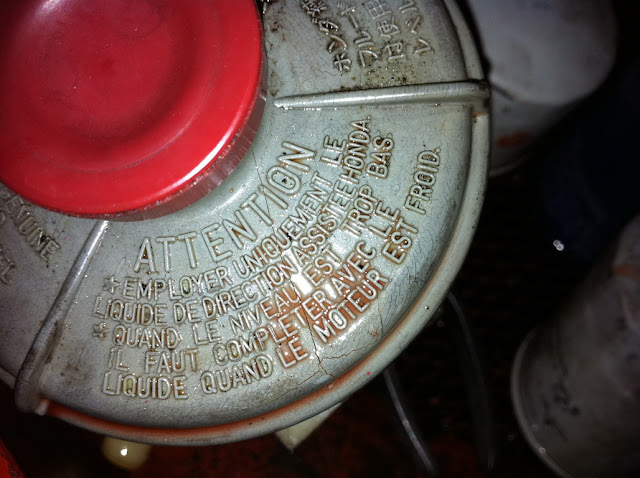
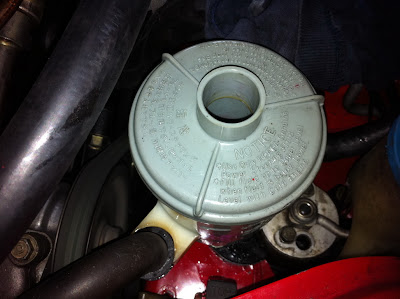
Nothing major. The steering fluid tank had a crack and the fluid was dripping all over, creating a mess.
Manage to get a replacement from the yard :)
Manage to get a replacement from the yard :)
Do note that the tank for the SOHC and DOHC are different in the mounting point when u get your replacement tank.
Valve Adjustment; aka Lash, Clearance
http://civic-eg.com/viewtopic.php?t=7491

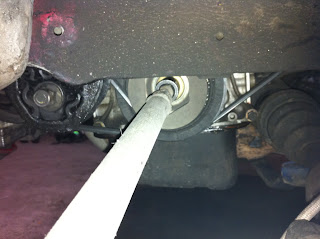
The difference after the adjustment??
1) Engine is quieter
2) The AFR readings are more stable now and fluctuate less then before, which resulted in a smoother ride.
3) The feel in power increment is significant.
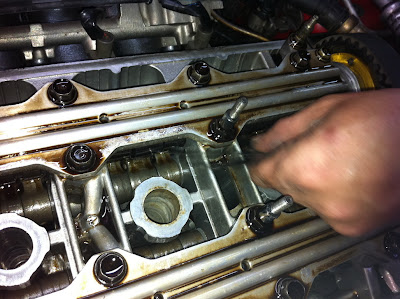
Got the instructions from civic-eg.com for the valve clearance adjustment. :) Just follow the instructions in the forum.
Checking the clearance on the intake side.
It was varying about 0.002"-0.004" difference before the adjustments which is causing the engine to be noisier then usual.
Do remember to make sure u have your car park overnight before commencing the job. If not, the measurements will not accurate due to heat expansion.


The difference after the adjustment??
1) Engine is quieter
2) The AFR readings are more stable now and fluctuate less then before, which resulted in a smoother ride.
3) The feel in power increment is significant.
Rad Fan addition
This is the KOYO radiator that is currently fitted in the car. It was meant for the DC2.
The main fan is the original EG6 fan which will not bolt on directly to the radiator. So it is recommended to get the DC2 fan to make things easier. As u can see, in my case, "brackets" will made to fit the EG6 fan on the radiator.
Additionally, I will added a 12" aux fan for the sake better air-con cooling as the condenser seats just behind the radiator. This is not because of trying to lower the ECT further.
Just having the main fan and the upsized radiator maintained the ECT at about 80C (176F) in the hot afternoon sun (ambient temp. of 32C locally).
The aux fan clearance from the stock exhaust manifold is about 15mm. While the main fan shroud has to be cut slightly to clear the manifold.
Another to note about the DC2 radiator is that the return hose is lower that the EG5 radiator. This causes the hose to stretch and rub against the gearbox mounting. Therefore, I had a aluminum pipe machined to extend the length of the hose to over the rubbing.
14 March 2011
EG6 Air-con part 1
Recently my air-con wasn't working well. So after a quick check, I found out that the air-con fan wasn't spinning. So off the bumper!!
Anyway, some simple air-con trouble shoot tips before going further.
I was going to replace the fan, but after further trouble-shooting, it was actually just the relay that was faulty..
Anyway, I made use of the chance to tidy up the front - Did some rewiring and securing the air-con fan (It was really loose and was making noises before)
Although it cant be seen after the bumper goes back up, but it feels good to know that wiring are in order and the fan is secure :).
Anyway, some simple air-con trouble shoot tips before going further.
1) First check if the fuse are blown:
Under dash - fuse 13 (7.5A)
Under the bonnet - fuse 35 (20A), fuse 39 (50A) & fuse 41 (80A)
2) Next check the two relays - one is for the compressor and the other is for the fan.
Subscribe to:
Posts (Atom)


